Are you looking for a way how to install Blink outdoor cameras but don’t know where to begin? Well, you’ve come to the right place! In this article, I will guide you through the process of how to install Blink outdoor cameras step by step. With my help, you’ll have your cameras up and running in no time!
With Blink outdoor cameras, you can keep an eye on your home and property from anywhere, at any time. Whether you’re looking to monitor your front porch, backyard, or driveway, Blink cameras provide a reliable and easy-to-use solution. So, let’s dive in and learn how to install Blink outdoor cameras together!
How to Install Blink Outdoor Cameras: Pre-Installation Steps
If you’re planning to install Blink outdoor cameras, there are a few pre-installation steps you should take to ensure a smooth installation process. These steps include choosing the right location, checking your Wi-Fi connection, and unboxing and checking components. In this section, I’ll guide you through these steps to help you get started.
Choosing the Right Location
The first step in installing your Blink outdoor camera is choosing the right location. You’ll want to choose a location that provides a clear view of the area you want to monitor. Make sure the location is also within range of your Wi-Fi network. It’s also important to consider the weather conditions in your area, as the camera is designed to withstand most weather conditions.
Checking Wi-Fi Connection
Before you start the installation process, it’s important to check your Wi-Fi connection. You’ll need a strong Wi-Fi signal to ensure that your camera works properly. To check your Wi-Fi connection, move your device to the location where you plan to install the camera and check the signal strength. If the signal is weak, you may need to move your router closer to the camera location or consider installing a Wi-Fi extender.
Unboxing and Checking Components
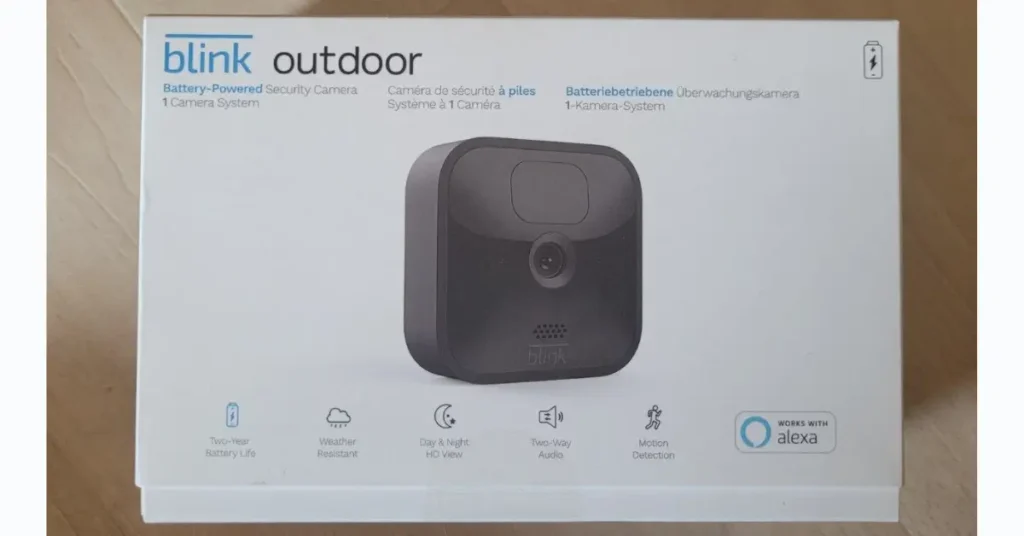
Once you’ve chosen the right location and checked your Wi-Fi connection, it’s time to unbox and check your components. The Blink outdoor camera comes with a camera unit, mounting bracket, and a set of batteries. Make sure that all components are included and in good condition. Check the batteries to ensure they’re fully charged before starting the installation process.
In conclusion, taking these pre-installation steps will help ensure a successful installation process for your Blink outdoor camera. By choosing the right location, checking your Wi-Fi connection, and unboxing and checking components, you’ll be well on your way to enjoying the benefits of your new camera.
Installation Process
Installing Blink Outdoor cameras is a straightforward process that can be completed in a few easy steps. In this section, I will guide you through the installation process and provide tips to ensure that your cameras are set up correctly.
Mounting the Camera
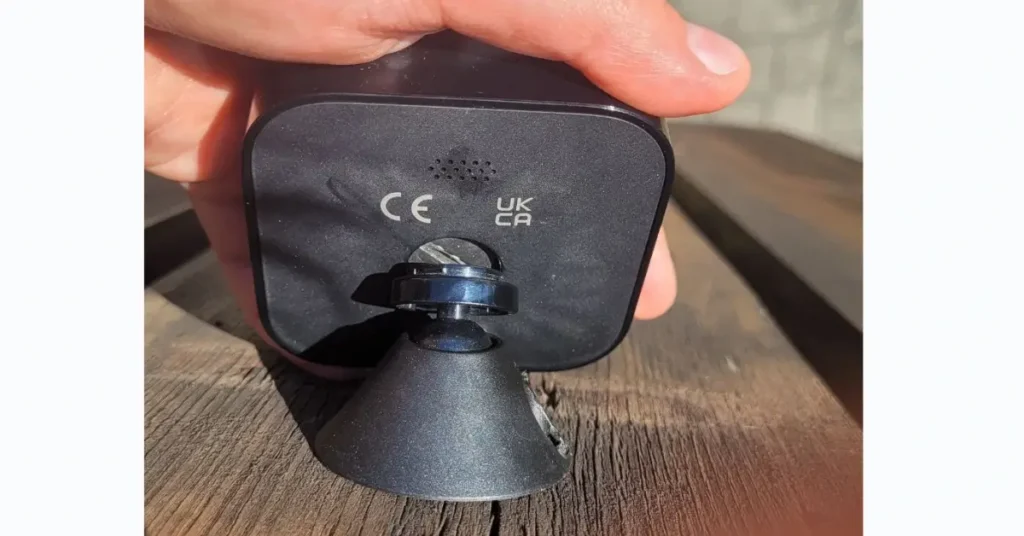
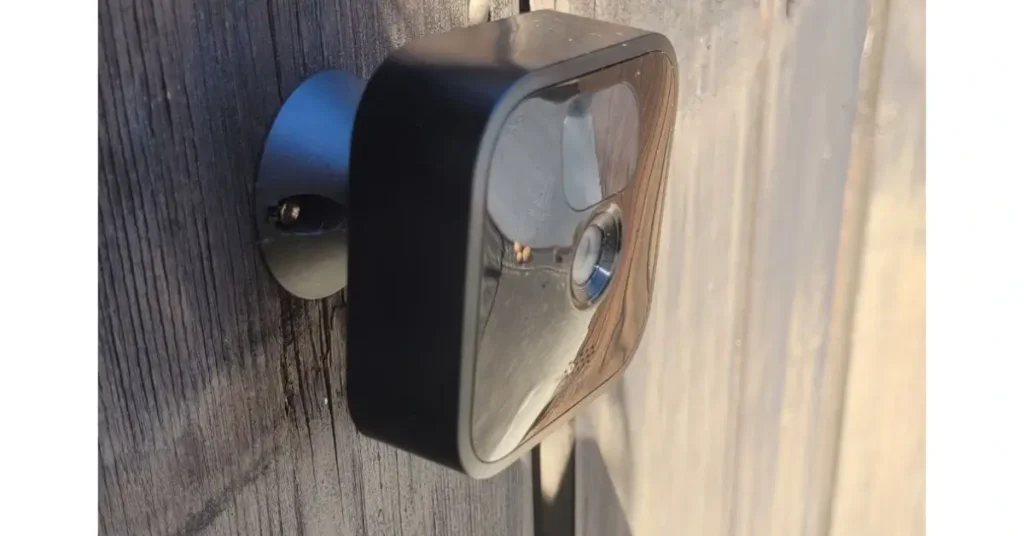
The first step in installing your Blink Outdoor camera is to mount it in the desired location. The camera can be mounted on a wall, post, ceiling, or shelf. When mounting the camera, ensure that it is positioned to capture the desired field of view.
To mount the camera, follow these steps:
- Locate the mounting bracket that came with your camera.
- Choose a location for the camera and use screws to secure the bracket to the surface.
- Attach the camera to the bracket using the provided screws.
Connecting to the Blink App
Once the camera is mounted, the next step is to connect it to the Blink app. The Blink app is available for both iOS and Android devices and can be downloaded from the App Store or Google Play.
To connect your camera to the Blink app, follow these steps:
- Open the Blink app on your smartphone or tablet.
- Tap the “+” icon in the top right corner of the screen.
- Follow the on-screen instructions to add your camera to the app.
Syncing with the Blink Module
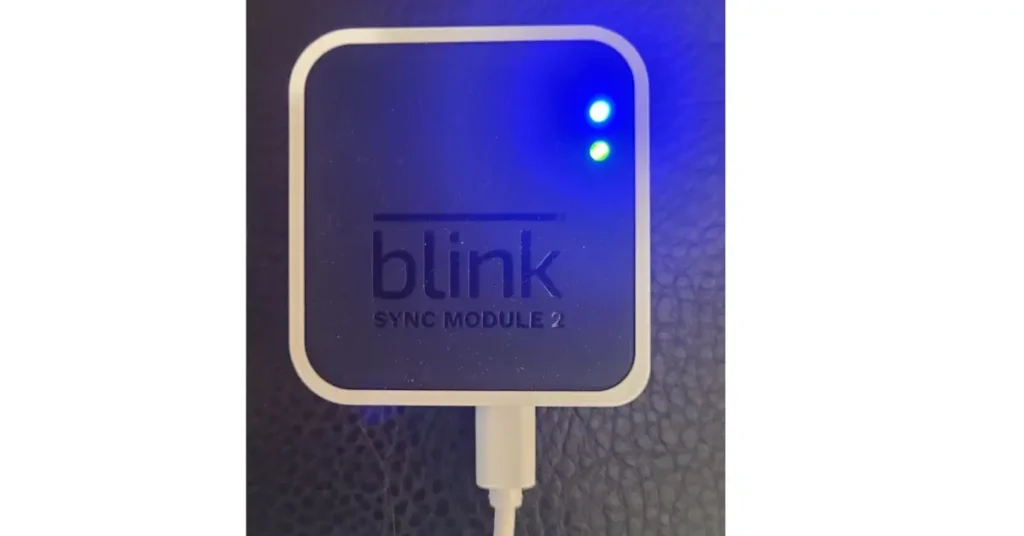
Finally, you need to sync your Blink Outdoor camera with the Blink module. The Blink module is the central hub that connects all of your Blink cameras to your home’s Wi-Fi network.
To sync your camera with the Blink module, follow these steps:
- Plug the Blink module into a power outlet and connect it to your home’s Wi-Fi network.
- Press and hold the sync button on the Blink module until the LED light starts flashing.
- Press and release the sync button on the back of the Blink Outdoor camera.
Once your camera is synced with the Blink module, it will be ready to use. You can use the Blink app to view live and recorded footage from your camera, set up motion detection alerts, and more.
In conclusion, installing Blink Outdoor cameras is a simple process that can be completed in just a few steps. By following the instructions provided in this section, you can ensure that your cameras are set up correctly and ready to use.
Post-Installation Steps
Congratulations, you have successfully installed your Blink Outdoor camera! Now, it’s time to test and adjust the camera settings to ensure optimal performance. In this section, I will guide you through the post-installation steps.
Testing the Camera
Before you start using your Blink Outdoor camera, it’s important to test it to make sure it’s working properly. Here’s how you can do it:
- Open the Blink app on your phone and select the camera you just installed.
- Tap on the Live View button to see if the camera is capturing a clear video feed.
- Walk around the camera’s field of view to ensure that it’s capturing motion and recording it correctly.
- Check the recorded clips to see if they are saved properly and can be viewed without any issues.
If you encounter any issues during the testing process, refer to the Blink support page for troubleshooting tips.
Adjusting Camera Settings
Now that you have tested your camera, it’s time to adjust the settings to your liking. Here are some of the settings you may want to adjust:
- Motion detection sensitivity: Adjust the sensitivity to ensure that the camera doesn’t capture unnecessary motion or miss important events.
- Video quality: Choose the video quality that best suits your needs. Higher video quality will take up more storage space, so keep that in mind.
- Recording length: Choose how long you want the camera to record after it detects motion.
- Clip length: Choose the length of the recorded clips.
- Scheduling: Set up a schedule for when you want the camera to be active.
To adjust these settings, go to the Blink app and select the camera you want to adjust. Tap on the gear icon to access the settings menu and make the necessary changes.
By following these post-installation steps, you can ensure that your Blink Outdoor camera is working properly and capturing the footage you need.
Troubleshooting Common Issues
Installing Blink outdoor cameras is a straightforward process, but sometimes issues may arise during the installation process. Here are some common issues you may encounter and how to troubleshoot them.
Wi-Fi Connection Issues
One of the most common issues that can occur during the installation process is a weak Wi-Fi signal. If you are having trouble connecting your Blink camera to your Wi-Fi network, try the following troubleshooting steps:
- Move your camera closer to your router to improve the signal strength.
- Check that your Wi-Fi network is working correctly.
- Make sure that your Wi-Fi network has a strong signal in the area where you want to install the camera.
Sync Module Connection Issues
If you are using a Sync Module to connect your Blink camera to your Wi-Fi network, you may encounter issues connecting the two devices. Here are some troubleshooting steps you can take:
- Make sure that your Sync Module is connected to your Wi-Fi network.
- Check that your Sync Module is connected to your Blink account.
- Ensure that your Sync Module is located within range of your camera.
Camera Placement Issues
If you are having trouble getting a clear view from your Blink camera, you may need to adjust its placement. Here are some tips for camera placement:
- Make sure that your camera is installed at the correct height and angle.
- Avoid placing your camera in direct sunlight or near bright lights.
- Ensure that your camera is not obstructed by any objects.
By following these troubleshooting tips, you can ensure that your Blink outdoor camera is installed correctly and working properly. If you continue to experience issues, contact Blink support for further assistance.
In conclusion, installing Blink outdoor cameras is a simple process, but sometimes issues may arise. By being aware of the common issues that can occur and how to troubleshoot them, you can ensure that your camera is working correctly and providing you with the security you need.
FAQ
Are Blink outdoor cameras easy to install?
Yes, Blink outdoor cameras are easy to install. They require a Sync Module (sold separately or purchased in a bundle) and connect to your home’s Wi-Fi network. The cameras are wireless and weatherproof, making them a great option for outdoor security.
Can Blink cameras be in the rain?
Yes, Blink outdoor cameras can be in the rain. They have an IP65 weather rating which means they are resistant to water and can withstand normal rain, sprinklers, and water splashes from the garden hose. However, anything beyond that might be considered a potential danger for the camera.
Can Blink Outdoor cameras see at night?
Yes, Blink Outdoor cameras have night vision. They use infrared technology to detect and capture motion in low-light or dark environments. The night vision range is up to 65 feet (20 meters) and the camera can record in black and white.
If you liked this blog article about the topic: How to install blink outdoor cameras, don’t forget to leave us a comment down below to tell us about your experience.
If you are looking for solutions to problems with your blink camera, feel free to check out our tutorial for Reset Blink Camera.

