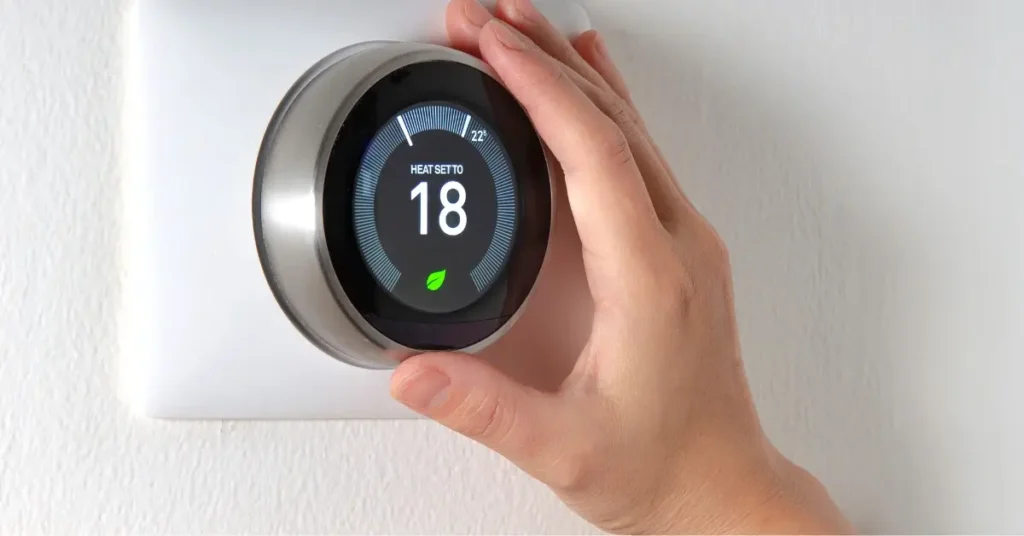
Have you ever tried to remove a Nest thermostat from your wall? It can be a bit tricky if you don’t know what you’re doing. But don’t worry, I’ve got you covered! In this article, I’ll show you exactly how to remove Nest thermostat step-by-step.
Step by Step Guide to Remove Nest Thermostat
If you’re looking to replace your Nest thermostat or simply want to remove it from the wall, there are a few things you should do to prepare. Here are some steps to take before removing your Nest thermostat:

Step 1: Turn off the Power
Before you start removing your Nest thermostat, make sure to turn off the power. This is important to ensure that you don’t get a short circuit. Your Nest thermostat is being fed power from a low-voltage wire, so you don’t need to turn off the power to your entire home. Instead, head to your circuit breaker panel and turn off the power to your HVAC system.
Step 2: Gather the Necessary Tools
To remove your Nest thermostat, you’ll need a few tools. These include a small flathead screwdriver, a Phillips head screwdriver, and a pair of needle-nose pliers. Make sure to have these tools on hand before you start.
Step 3: Take a Photo of the Wiring
Before you start removing the wires from your Nest thermostat, take a photo of the wiring. This will help you remember how to reconnect everything when you install your new thermostat. If you forget how to reconnect the wiring, you may end up damaging your HVAC system.
Step 4: Label the Wires
After you’ve taken a photo of the wiring, label the wires so you know which one goes where. This will make it easier to reconnect everything when you’re installing your new thermostat.
Taking these steps before removing your Nest thermostat will help ensure that the process goes smoothly. With the power off, the right tools on hand, and a clear understanding of how to reconnect everything, you’ll be able to remove your Nest thermostat in no time.
Safety Measures

Removing a Nest thermostat may seem like a simple task, but it’s important to take some safety measures before you start. Here are some tips to ensure that you stay safe while removing your Nest thermostat.
Firstly, turn off the power to the thermostat. This is important because you don’t want to accidentally touch any live wires while removing the thermostat. You can turn off the power by flipping the circuit breaker that controls the thermostat. If you’re not sure which circuit breaker to flip, turn off the power to your entire house to be safe.
Next, remove the cover of the thermostat. You can do this by gently pulling the cover away from the wall. Be careful not to pull too hard as you don’t want to damage the wires behind the thermostat.
Once the cover is removed, you should see the wires that are connected to the thermostat. Take a picture of the wires or write down the wire colors and their corresponding labels. This will help you remember how to reconnect the wires when you install a new thermostat.
Now, you can remove the base plate of the thermostat. Use a screwdriver to unscrew the screws that are holding the base plate to the wall. Once the screws are removed, gently pull the base plate away from the wall. Be careful not to damage the wires behind the base plate.
Finally, disconnect the wires from the base plate. You can do this by gently pulling the wires out of the connectors. Be careful not to pull too hard as you don’t want to damage the wires.
By following these safety measures, you can safely remove your Nest thermostat without any accidents. Remember to turn off the power, take a picture of the wires, and disconnect the wires carefully. With these steps, you’ll be able to remove your Nest thermostat easily and safely.
Troubleshooting Common Issues
As much as we love our Nest thermostat, it’s not immune to problems. Luckily, most issues can be resolved with a little troubleshooting. Here are some common problems and how to fix them.
Battery Issues

If your Nest thermostat is displaying a low battery warning, it may be time to replace the batteries. To do this, remove the thermostat from the wall and replace the batteries with new ones. If the issue persists, check if your thermostat is receiving power from the C-wire or your HVAC system. If it’s not, you may need to call a professional to fix the wiring.
Connection Issues

If your Nest thermostat is not connecting to Wi-Fi, first make sure that your Wi-Fi network is working. If it is, try resetting your thermostat by pressing and holding the display for 10 seconds until it restarts. If the issue persists, try resetting your Wi-Fi network or contacting Nest support for further assistance.
Sensor Issues
If your Nest thermostat is not accurately reading the temperature, it may be due to a dirty or faulty sensor. To fix this, try cleaning the sensor with a soft cloth. If that doesn’t work, you may need to replace the sensor or contact Nest support for further assistance.
Other Issues
If you’re experiencing other issues with your Nest thermostat, such as it not turning on or not responding to commands, try resetting the thermostat or checking the wiring. If the issue persists, contact Nest support for further assistance.
Overall, troubleshooting common issues with your Nest thermostat is relatively simple and can save you time and money. By following these steps, you can ensure that your thermostat is functioning properly and keeping your home comfortable.
FAQ
What happens if I unplug Nest?
If you unplug your Nest camera, it won’t detect sound or motion, stream live video or record and save activity.
Will Nest run without Wi-Fi?
Yes, the Nest Thermostat will work without Wi-Fi. You can control your home’s temperature and activate custom heating/cooling schedules, but you won’t be able to manage your home’s temperature through the Nest app without Wi-Fi.
What happens to Nest thermostat when power goes out?
The Nest thermostat comes with a rechargeable lithium-ion battery that keeps it functioning for one to two hours during power outages before it completely shuts down. However, your thermostat will no longer be “smart” or connected as long as it’s running on the low battery.
If you liked this blog article about the topic: How to remove nest thermostat, don’t forget to leave us a comment down below to tell us about your experience.
If you are looking for solutions to other problems, feel free to check out our tutorial for Shark robot vacuum not charging


